You can purchase from their Facebook Fan Page under 'Boutique'.

Outfit of the day (jacket from Forever21, boots from Blowfish (years ago!))


I meant to blog a couple of days ago, but since I started hitting the gym (it's my New Year's resolution to be fit and healthy and get Hawaii ready for my vacay in August); it's been making me super exhausted. But I actually feel really good, i've been eating healthier than I was before, so I don't feel sluggish anymore, I feel more energized and "cleaner" inside; and I am just looking forward to keeping it up and just being fit again. After I decided to stop my feeble attempt at modeling, and being controlled in terms of what I can and cannot eat, I became careless and kept eating the wrong things. There's nothing wrong with eating what you want, just moderate it and exercise. My problem was that I wasn't really exercising and I was just eating anything and everything! I went from my heaviest which was about 130 to now a 118, and honestly I don't care if I am 125, as long as I am healthy and toned. I try to work out everyday except on weekends since the gym is next to my work, so I am trying to make it a constant habit. So far so good!
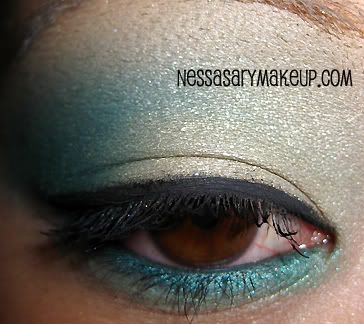
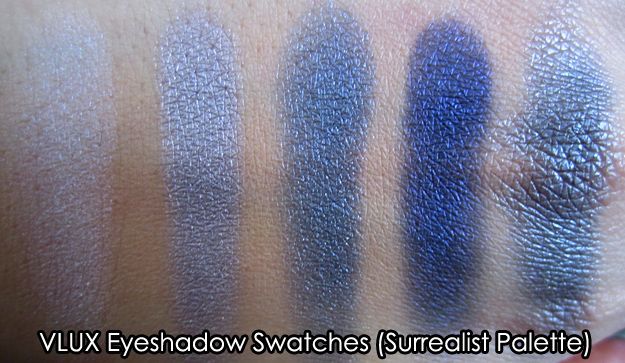
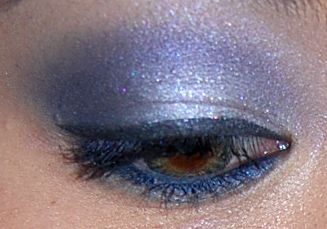
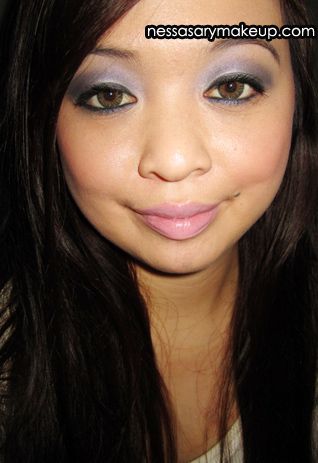
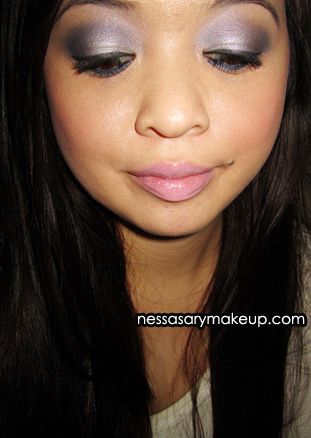
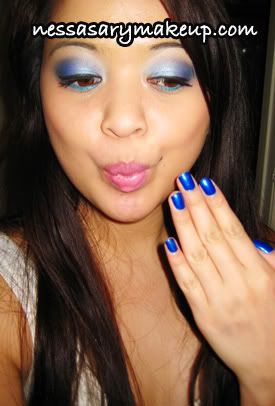
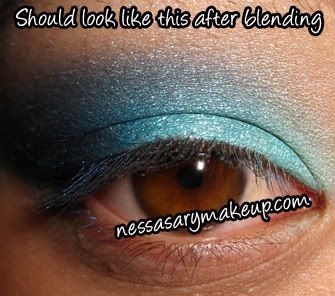
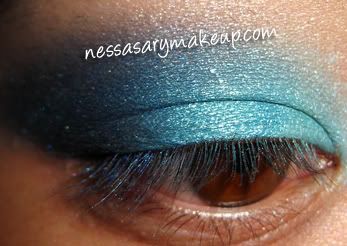
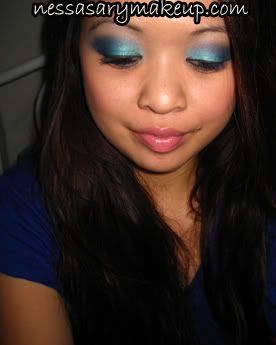
Anyway, here is the blue eye/fotd I did last weekend and meant to post up earlier before I got sidetracked! I had blue nails to match which was China Glaze's "Frostbite".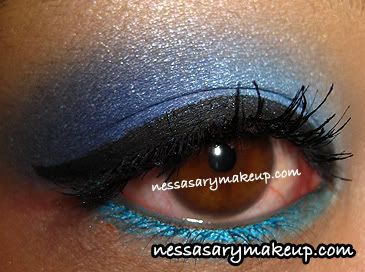
What I used:
[Face]
- MUFE HD Foundation #127
- MAC Studio Finish Concealer in NC30
- Cargo OneBase concealer in #2
[Cheeks]
- MAC Blushcreme in "Uncommon"
[Eyes]
- MAC "Otherworldly" Paint Pot on lower half of the lid
- MAC e/s in "Moonlight" on lower half of the lid
- MAC e/s in "Cobalt" (PRO) on 1/4 of the lid
- Milani "Blue Ice" and MAC "Freshwater" on outer half of the lid
- Dark blue e/s in MAC "Sea & Sky" on outer half of the lid and outer-V
- MAC Fluidline in "Blacktrack"
- L'Oreal eyeshadow in "Voluminous"
- Urban Decay glide eyeliner in "Electric" on lower lash line
[Lips]
- MAC lipstick in "Snob" and "Pink Noveau"
- MAC lipglass in "Special Edition Viva Glam II"
And I LOVE the Beauty Blender Sponges! I know, I know, they are a bit pricey for SPONGES, but I can't live without them! They last forever for me, my liquid foundations don't sink in them so it's not going to "waste", and the unique shape allows me to cover large and small areas with ease. I ended up buying two additional ones, one for my makeup bag, and one for when I travel.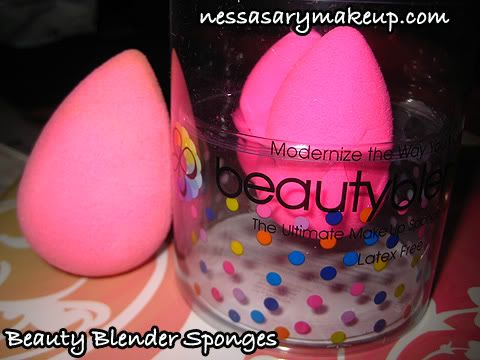
As you can see the one on the left is the sponge wet, hence it's larger...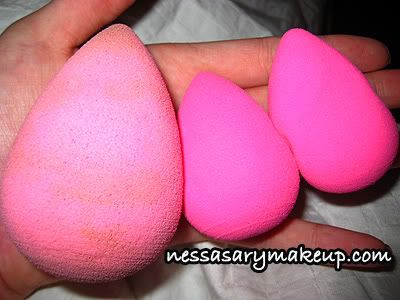
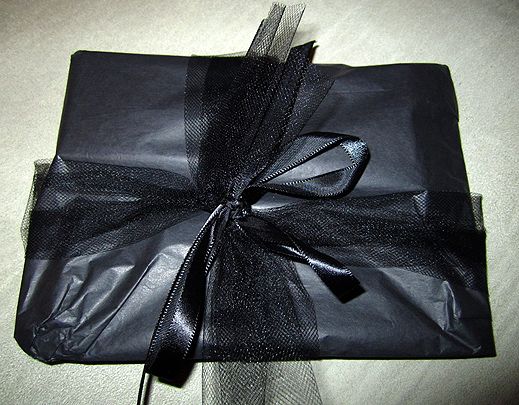
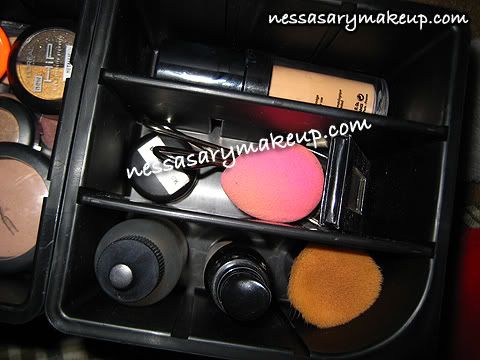
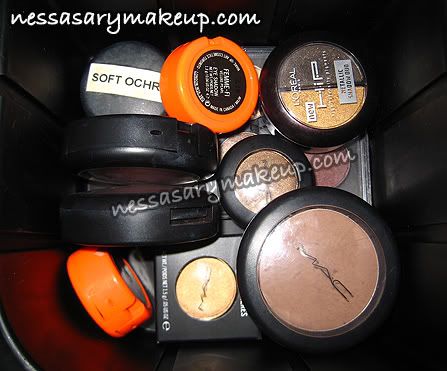
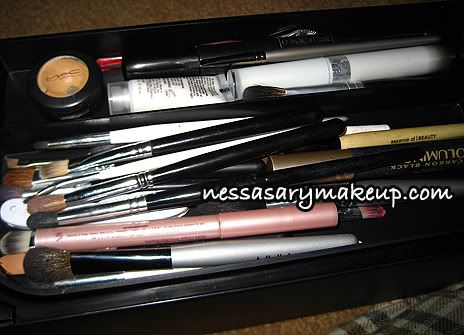
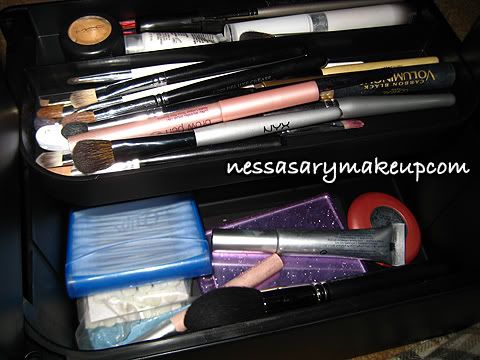
Some of you asked to see the MAC Box I got for Xmas actually filled up with stuff, so when I slept over the BF's mom's house last weekend, here is what I packed to utilize the space! It actually fits A LOT!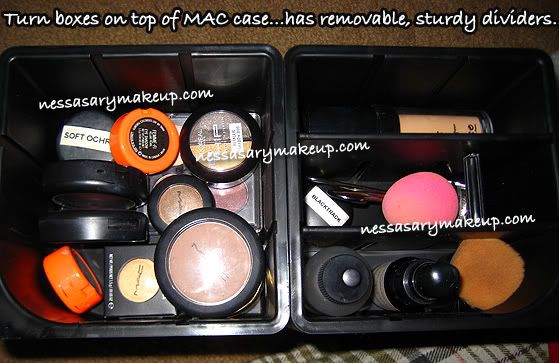
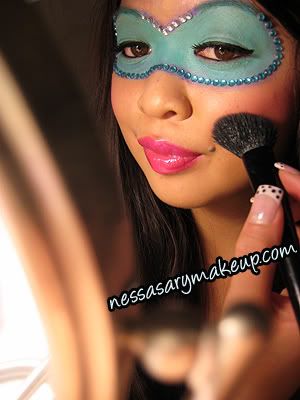
I couldn't wait to use the Mehron palettes so since Halloween is around the corner I thought id have some fun and just play around with them and try to get a feel for them and the consistency. Many of you asked how to use these so I will be doing a tutorial on that soon.
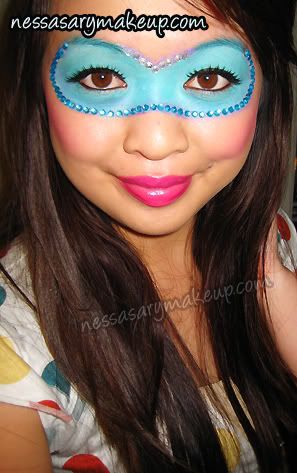
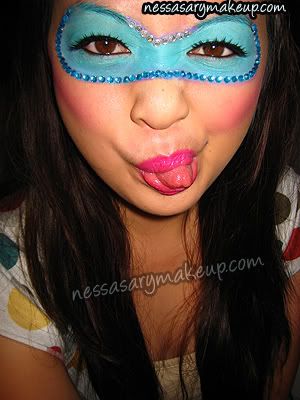
I wanted to make an eye mask because I loved getting my face painted when I was a kid and thought it would give me an opportunity to use the palette to its full potential. I first outlined my mask with NYX's Jumbo Eye Pencil in "Milk", then filled it in with the "Teal" color in the pastel palette. I then outlined it again with the dark purple color. The "bling gems" are actually cell phone bling self-adhesive stickers and I used it to outline the mask as well as make it "pop" by putting it over the purple outline. I then applied my foundation, blush, and lip color.
It took me almost 2 hours to do this look because I had to peel off every little backing on the gems, but nonetheless it was worth it and I had a lot of fun doing it. You can continuously add more of the teal color as you go along in case it gets "streaky", I used a taklon brush, but next time I am going to try to use a sponge instead. It takes awhile getting the "right amount" of the cream, but it's fun to play with! I also did a video!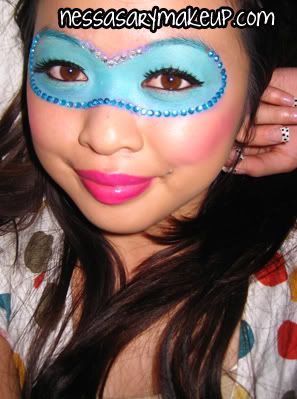
What I used:
[Face]
- Purely Cosmetics Foundation in "Olive Beige"
[Cheeks]
- MAC Fafi Blush in "Fashion Frenzy"
[Eyes]
- UDPP all over lids
- NYX Jumbo eye pencil in "Milk" to outline the shape of the mask
- Teal color in Mehron Pastel Palette inside color of mask
- Dark purple color in Mehron Pastel Palette as outline
- Cell phone bling gems on outline
- Revlon Colorstay Eyeliner
- MAC Technakohl Eyeliner in "Graphblack" on lower lashline
- Ardell Eyelashes in "Luckies"
[Lips]
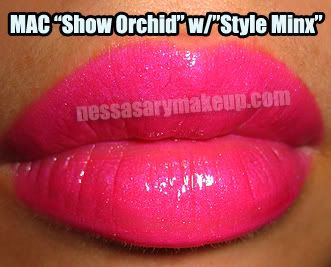
- MAC "Show Orchid" lipstick (PRO)
- MAC Lipglass in "Style Minx"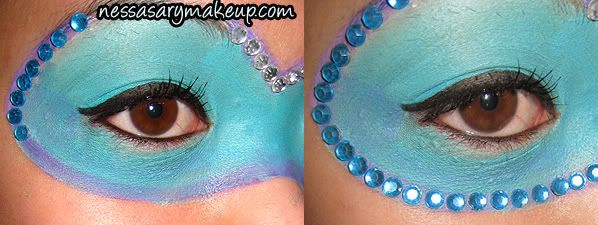
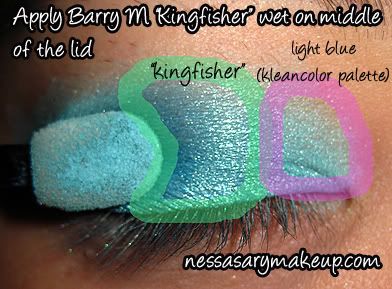
Here is a look I did using Barry M's Dazzledusts in "Kingfisher" and "Midnight", and I used the light blue color from the KleanColor Palette. See? I don't just use MAC. LOL. If I had discounts for other makeup brands, you can bet I would be buying all of 'em. Especially Laura Mercier, Laura Geller, Urban Decay, Too Faced, etc., but since I don't, I end up just getting MAC since it's cheaper with my discount, although I can never pass up a UD Palette!
I also used the New View MSF in Medium Dark. (Video on how I apply it and what brush I use coming soon!)
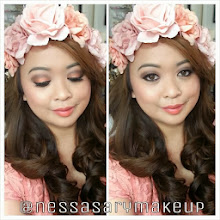
*Excuse the full face shots, I wasn't gonna post them up but just so you can get the general idea, it actually looked better in person but my lower lashline was getting irritated by the eyeliner or something because my eyes kept watering up so just imagine that the lower lashline is lined with black and smudged with "Midnight" at the bottom or a blue eyeliner, LOL.
I forgot to add "Coygirl" blush in this pic that I used...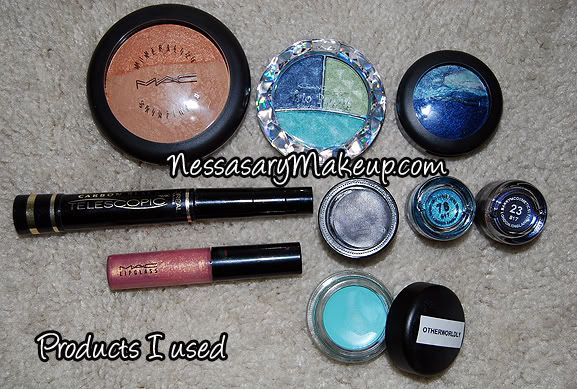
What I used:
- MAC MSF in Medium Dark
- MAC “Coygirl” Blush
- MAC Fluidline in “Blacktrack”
- Loreal Telescopic Mascara
- MAC PP in “Otherworldly” (LE)
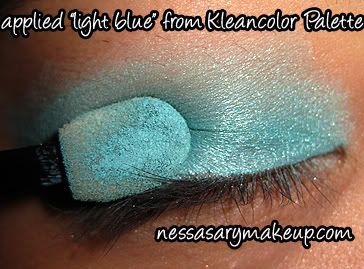
- Kleancolor Palette (light blue color)
- Barry M Dazzle Dust in “Kingfisher” and “Midnight” (applied wet w/mixing medium)
- MAC Mes in “Sea & Sky” (LE)
- Lips: MAC “Nymphette” Lipglass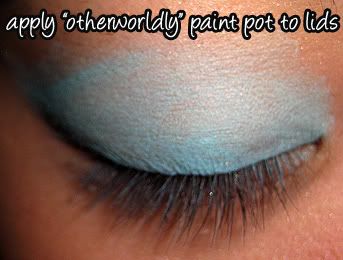
I also used a little bit of "Sea & Sky" MES from ElectroFlash.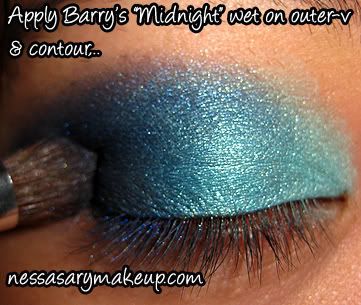
Apply eyeliner and mascara, and line the lower lashline or waterline...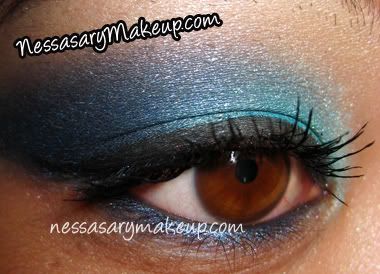
Again, imagine color on the lowerlashline haha, I had to take it off hence this pic has nothing on the bottom because my eyes were getting irritated :(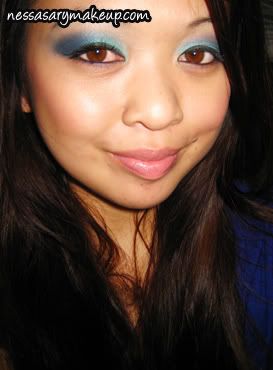

What I used:
Face:
- Camellia Rose Skin Soothing Primer
- Fyrinnae Oil Control Powder
- Fyrinnae Mineral Foundation in "Sunstone"
Cheeks:
- Auraline Blush Palette (F2 and S2)
Eyes:
- MAC PP in "Otherworldly" from Alexander McQueen Collection
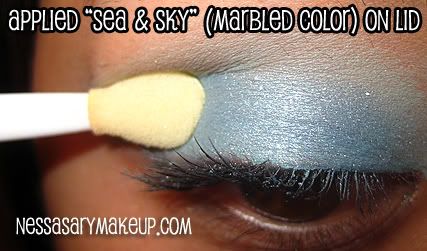
- Electro Flash MES in "Sea and Sky" (the marbled side) on lower half of the lid, applied with sponge tip applicator
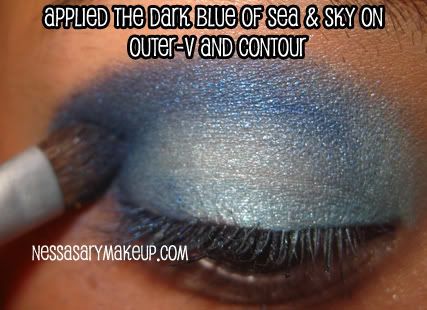
- Dark Blue side on outer-V and contour
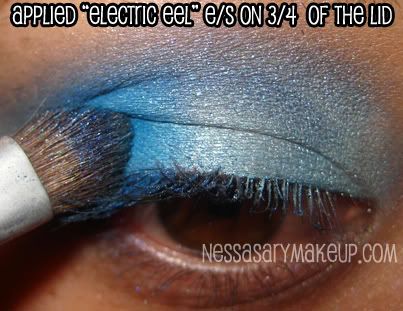
- MAC e/s in "Electric Eel" on 3/4 of the lid
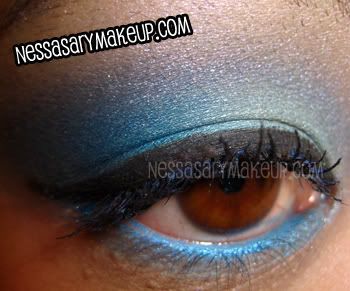
- MAC Pigment in "Pink Opal" as highlight
- MAC Pigment in "Blue" on lowerlash line (applied dry)
- MAC Fluidline in "Blacktrack" (eyeliner)
- L'Oreal Telescopic Mascara
Lips:
- Smashbox "Simmer" Lipgloss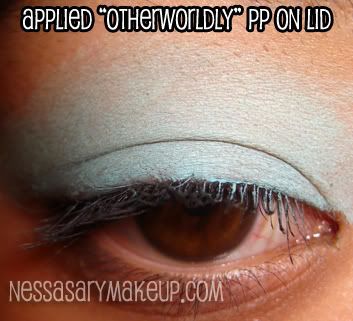
Applied "Pink Opal" as highlight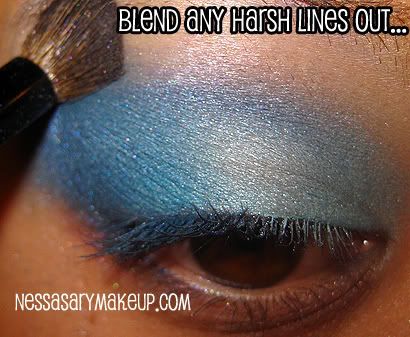
Just line and apply mascara.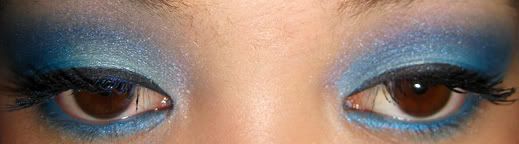
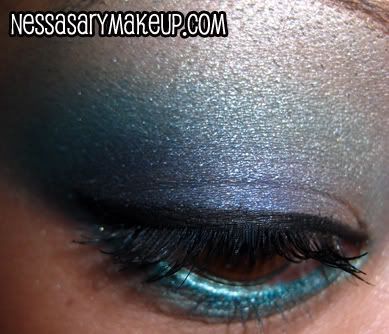
I haven't done a FOTD for awhile...i've been so lazy to put makeup on since I have been busy dabbling in other things, so I finally had a chance to do a quick look using a couple of the eyeshadows from the Cool Heat collection. It was much more vibrant in person, but the flash washed it out a bit.
I also used the Fyrinnae foundation, "Sunstone" in Matte finish which I like a lot better than the Super Power one, Joppa minerals has a nice finish but comes out a little too tan as well as being a little too thick, so I am gonna try applying it with the 187 stippling brush instead of the 180 because the 180 is so dense I think it's packing it on rather than allowing me to build my desired coverage. I already ordered the full-size Fyrinnae Foundation in "Sunstone", I LOVE the coverage and it matches me pretty well considering I didn't mix it with anything...
Don't mind the eyebrows, I haven't played with my Anastasia stuff yet! :)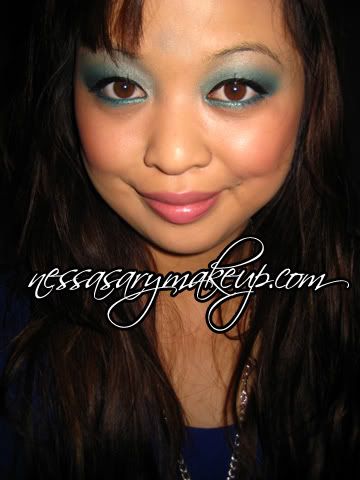

Face:
- Mario Badescu Buttermilk Moisturizer
- Monistat Primer
- Fyrinnae Regular Mineral Foundation in "Sunstone" (Matte)
Cheeks:
- MAC Blush in "Flirt & Tease"
Eyes:
- MUFE Full Cover Concealer #8
- MAC StudioFinish Concealer in NC30
- MAC PP in "Soft Ochre" all over the lid as base
- MAC e/s in "Warming Trend" all over the lid
- MAC e/s in "Gulf Stream" on contour
- MAC e/s in "Deep Truth" on Outer-V
- Milani e/s in "Blue Ice" on the middle of the lid
- Styli-style eye pencil in "Venice" on lower lashline
- Revlon Colorstay Eyeliner in "Black"
- L'Oreal Telescopic Mascara in "Blackest Black"
Lips:
- MAC Slimshine in "Pleasing"
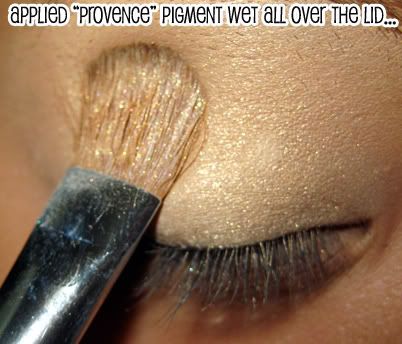
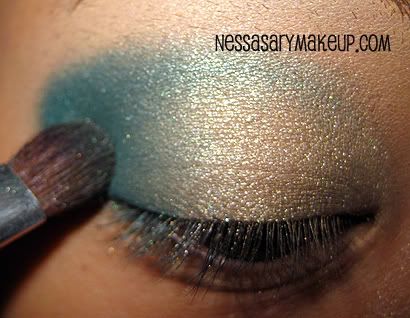
Reader Ashley requested a tutorial using teal and bronze, at first I was thinking about making it more of an orange-y brown, but I love the goldish brown hue of Aromaleigh's "Alloy" instead since it matched the sash on my shirt, LOL. It was actually pretty impromptu.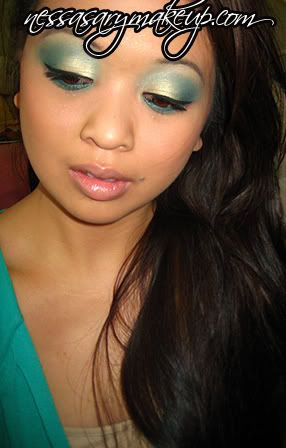
What I used:
Face-
- Monistat Chafing Gel as face primer
- MAC StudioFinish Concealer NC30
- Silk Naturals Foundation in Buttery Gold
Cheeks:
- Jordana Blush in "Stardust" (yeah old school!)
- MAC MSF in "Gold Spill"
Eyes:
- MAC Paint Pot in "Soft Ochre" all over the lid
- MAC "Provence" pigment applied wet all over the lid
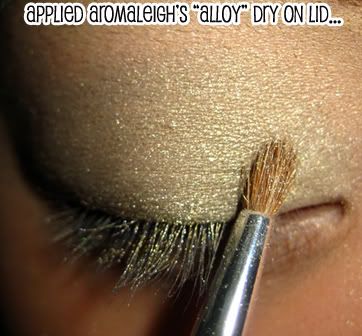
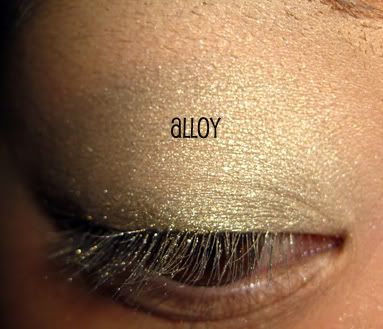
- Aromaleigh's "Alloy" on lower half of the lid applied dry
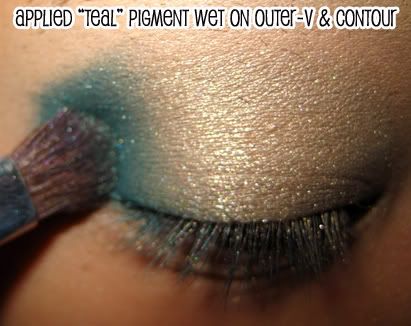
- MAC "Teal" pigment on outer-V and contour
- Ben Nye "Jade" on lowerlashline
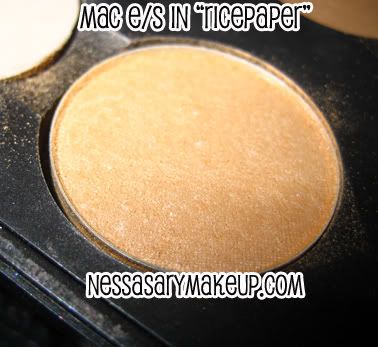
- MAC e/s in "Ricepaper" as highlight
- MAC Fluidline in "Nightfish"
- Spinlash mascara
Lips:
- MAC l/s in "Fleshpot" (the best nude lipstick ever!)
- MAC "Underage" Lipglass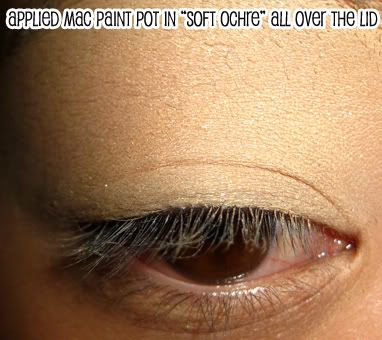
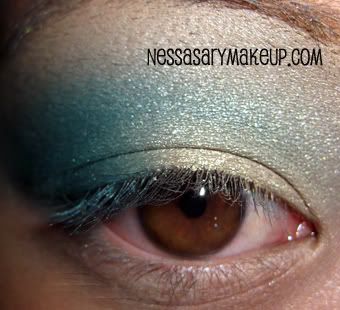
I didn't curl my lashes so you can see more detail...