Recent Posts
Popular Posts
Upcoming Posts
- Concealer & Foundation Tutorials
- Sigma MaxBag Makeup Bag
- My HG Concealers
- Mixing Foundations
- What's in my makeup box
Monday, June 6, 2011
NOTD: "One Less Lonely Glitter" Nicole by OPI
Labels: Nailpolish, Nails, SwatchesIt's very opaque and you get a lot with just one or two coats. I paired it with China Glaze's "Coconut Kiss" and man oh man did it blow me away! It's such a gorgeous combination (and my favorite color is purple), and I am just loving these two together. I already got tons of compliments on it too, so you know it's a winner!
One thing I like is that it doesn't feel like that obnoxious chunky glitter on the nail, once I applied my Seche Vite top coat, it was pretty smooth. It has just the right amount of glitter and sparkle and it's actually the only one I really liked out of the collection. It also looks awesome with OPI's Black Shater on top.
What are your favorite nailpolishes or nail combos?
Here are some pics:
readmore »»
Sunday, May 1, 2011
Sally Hansen "Laced Up" & How-To Tutorial
Labels: Nailpolish, Nails, Tutorials, VideosStephanie requested that I show the Sally Hansen Salon Effects Nail Strips in "Laced Up", so I thought i'd also do a quick video on how-to apply them as they can be tricky for people who aren't used to nailstrips. I used Seche Vite as my top coat, which I noticed helps it stay on longer. I like that these nailstrips are 'movable' as in if you placed them wrong or it suddenly sticks to your nail, you can still carefully peel them off and start over; as some other brands I have tried (Forever 21's version of nailstrips for example) are a waste of money even though they are only $2.80 for each one I believe, they stuck to my nail and stayed there. If I tried to carefully peel it off to start over it would rip into shreds.
So the Sally Hansen ones are good quality in comparison to other nailstrips out there; I find that the solid colors and some of the designs are great (even the solid colored glitters), while others don't work that well (I hated "Frock Star", it was hard to work with, it felt gritty, and it was a pain to come off!). Anyway, enjoy! readmore »»
Tuesday, April 5, 2011
Broadway Nails Brush On Nail Kit Review
Labels: Nails, Product ReviewsHey ladies! My friend Lannet who also does YouTube vids started up her blog again, so kindly support and check her out here!
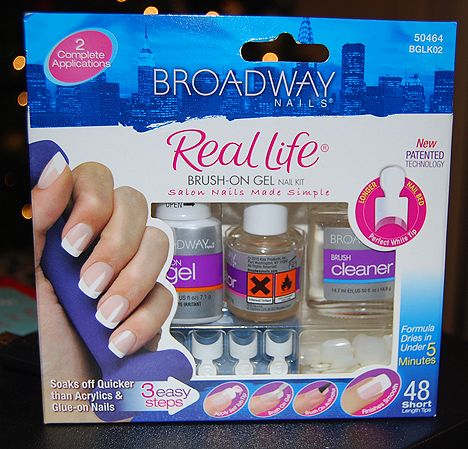
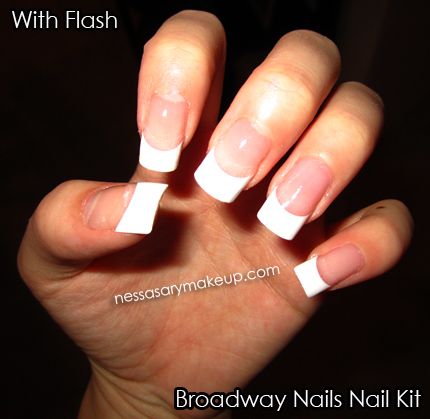
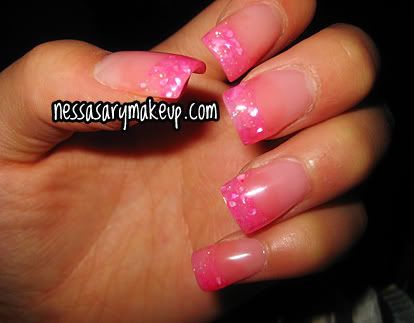
I went to Walmart around Christmas last year and bought the 
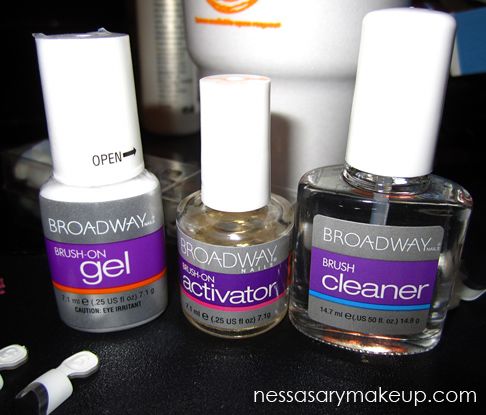
Broadway Nails Brush On Nail Kit, and finally decided to use it a few weeks ago. It was $10 for the entire kit, and even though I haven't been a fan of press on/glue on nails because I can never keep them on, I decided to give these a try because they were similar to acrylic nails and I liked how they didn't have the cheap plastic look.
So how did these fare? Read on!
Their description:
Mistakeproof Brush-On Gel is perfect for beginners. Patented gel formula is easy to apply – simply brush on. Your nails will be smooth and shiny without buffing. Salon fabulous results…no UV light, no odor, no appointment necessary!
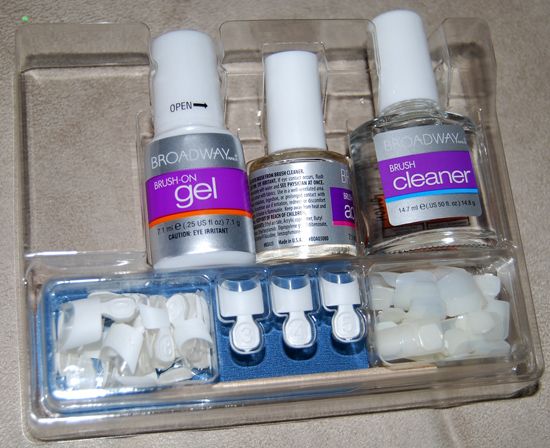
Kit Contains: Brush-on Gel, Brush-on Gel Activator, Brush Cleaner, 48 Self Tab Natural Nail Tips in 14 Sizes, Mini File, Manicure Stick
PROS:
- Instructions were super easy to follow, and it was easy to do
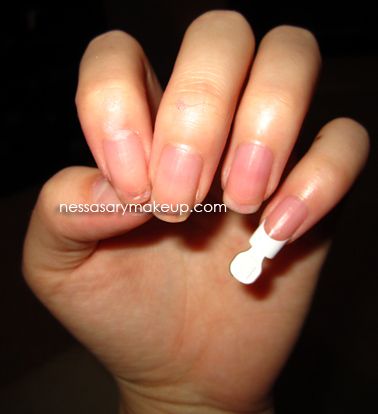
- Looks professional (if you file it down a bit)
- Great for a few hours if you are pressed for time and need a quick look
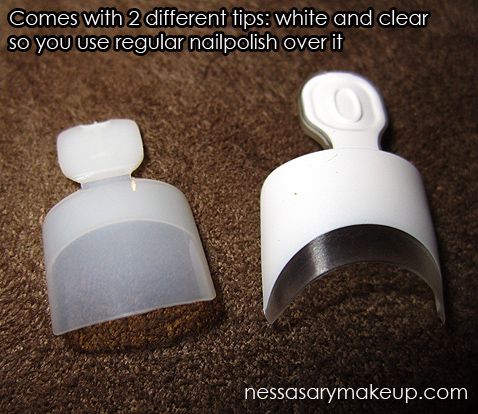
- Kit comes with cuticle sticks, a file, and clear nail tips which helps
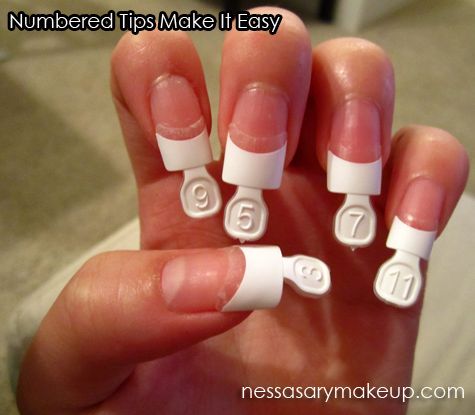
- Tips are easy to apply and remove, they are also numbered to help you achieve the right size
CONS:
- Not all of the nail tips fit every nail bed, I had a hard time finding the perfect size for my thumbs
- They don't have extra tips of each (white and clear) in case you make any mistakes
- The gel is kinda hard to remove, takes a lot of patience
- Smell is kind of strong
- Most of the nails on my right hand came off the next day, granted it's my dominant hand, I felt they came off too quickly, the ones on my left hand were intact, but ended up taking them off so I wouldn't look funny, and for the record I didn't do anything crazy for them to fall of, they just did.
- If not filed down correctly, you can see the bottom of the tip (and they tell you that you DON'T need to file down to even the surface, but you really do!)
Overall: These have the potential to be doable if they were better made, however the fact that they didn't even last a full day was disappointing. It seems like the gel layer doesn't dry as thick to hold onto the tips so they rip off so easily; but the instructions don't recommend you apply more, so you sorta have no choice. They looked nice on, as if I got them done at the salon, but I ended up taking them all off as soon as a few nails came off because they don't have any extras I can use for touch-ups, and didn't wanna look silly walking around with one hand full of nails! The kit itself I gave 4 stars because I liked that they also included a file and cuticle sticks, which came in handy especially if you are doing this while traveling, etc. So I don't recommend these for long-term use, i'd rather pay an extra $10 and get actual acrylics on, but if you are just looking for a quick look for a few hours or for the night, these would suffice.
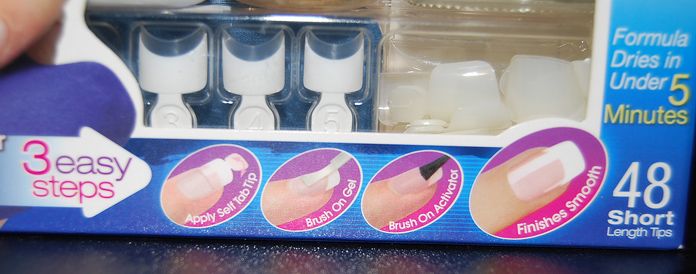
Friday, March 18, 2011
MAC Haul
Labels: Lips, MAC, Nailpolish, Nails, SwatchesI also wanted to try their 'Sheen Supreme' lipsticks because I LOVED their slimshine lipsticks from way back in the day (a glossy lipstick), and since it was rumored these were similar, I was curious because I was sad the slimshines were limited edition. I will do a comparison post later on the two, but right off the bat they aren't as glossy and shiny as the original slimshines which is disappointing but they still are nice (at least some colors are such as the one I got in "Bare Again"). And oddly enough one of the Slimshines I have is "Bare" and this one is "Bare Again", love how they tied that in!
I didn't get much, just the Penultimate Eyeliner Pen in "Rapidblack", 4 eyeshadow palette (I love the new design! I wish their 15 eyeshadow palette was see-thru too so you can see the eyeshadows from the outside), e/s pan refill in "Shale", the Sheen Supreme lippie in "Bare Again" and their moisture cover concealer in NC20.
Monday, February 7, 2011
OPI Black Shatter
Labels: Nailpolish, NailsI already had Color Club's "Pink Flame" on my nails so I just rushed to test it and put the black shatter over it, sealed it with Seche Vite top coat, and I am loving it. Jon said "Why would you want your nails to look like that?!" LOL. Oh boys, they just don't understand haha.
***Note: Apply one coat, and apply it quick as it will start to crackle in a matter of seconds and let it dry then apply clear top coat.
Can't wait to post later about kkcenterhk.com, testing out some lashes and a hair piece! :)
Anyway here are some pics:
readmore »»
Friday, January 7, 2011
Review: Sally Hansen Salon Effects Nail Strips
Labels: Nailpolish, Nails![]() |
L to R: Frock Star, Bling It On, Wild Child, and Laced Up |
Monday, December 20, 2010
ORLY Bonder & No Chip Nailpolish Coats
Labels: Nailpolish, NailsAnyway, I went to Sally's the other day to buy a few small gifts for my best friend, and thought i'd make another futile attempt to put some nailpolish on and TRY to get them to last at least close to a week, so I bought ORLY Bonder (base coat) which claims to help nailpolish adhere to the base coat so it lasts longer and ORLY "Won't Chip" Top Coat w/ a protective polymer shield (both $6.99 each), they both suggested of course that for ideal results, it's best to use them together, hence why I ended up getting both.
They both say that they "prevent nail lacquer from wearing off for up to two weeks".
So Day 1, was last Thursday, I used the Bonder as a base, then Color Club nailpolish in "Pink Flame", and then Wet N' Wild's Craze Nail Color in "Glitz" (pink and purple glitter nailpolish with a clear base, it's so pretty in person!), followed by the no chip top coat. [I used one coat of the pink flame and one coat of the glitter after the base coat, then one coat of the top coat.] For the sake of testing, I didn't bother to really clean up around my cuticles so I apologize!
On the second day, there was no chipping, and on the third day there was minimal chipping near the tips of the nail.
And on Day 5 (today), it looked like this:
Overall? Compared to other base and top coats I have used, these Orly base and top coats do not chip as much, but I was still a bit disappointed because I was hoping for minimal to no chipping until at least maybe Day 7. Especially because they say it prevents (as it's a fact, not help prevents...) nailpolish from wearing off for up to two weeks. Even around Day 3 I already started to see a bit of chipping near the tips on my right hand. However, I am giving it another shot by using it on flat nailpolish (no glitter) just to see if that makes any difference, so we'll see by the end of this week how it holds up. But at the moment, for $6.99 a pop, I'd like to believe there is something better that does the job at the same price; even if there is one that's a tad bit pricier, it might be worth it if it actually prevents them from chipping. We'll see!
On another note, the bestie (the boy BFF, I have a girl BFF and a boy BFF haha) gave me a cute HK keychain (for some reason it reminds me of Tupac), he is doing the 12 days of Christmas so one small gift everyday, and it's all HK stuff, it's pretty funny. He has such a big heart! I have to do a post on that soon because I was amazed he found some of these things (such as an ice pop mold !)
readmore »»
Thursday, June 11, 2009
BDAY FOTD & Dinner Craziness
Labels: LOOKS: PINK, LOOKS: PURPLE, NailsSo last Sunday I had a birthday dinner with a few friends and finally did a look! My co-worker Irina also got me the BEST CAKE ever....an ice cream cake with RPattz (aka Edward Cullen) on it that read "Happy Birthday Mrs. Cullen", I squealed and was the happiest person on earth, LOL. Everyone at the table is in on my obsession and they too loved the cake, however I told them to NOT eat his gorgeous face!
It was even on Twicrackaddict.blogspot.com!
Got birthday nails!
What I used:
[Face]
- MAC Skin Primer
- MAC Studio Sculpt Concealer in NC30
- Buff'd Mineral Foundation in "Chamois" and "Almond"
- Purely Cosmetics Diamond Finish Powder
[Cheeks]
- Korres Bronzer to contour
- MAC "Fashion Frenzy" blush
[Eyes]
- Smashbox Photo Finish Lid Primer
- MUFE eyeshadow #26 (pink) on the inner lids
- MUFE eyeshadow #9 (purple) on the middle of the lid
- MAC e/s in "top hat" (starflash, LE) and "nocturnelle" e/s on outer-V and contour
- MAC e/s in "Rondelle" and "Shroom" as highlight
- MAC Fluidline in "Blacktrack"
- L'Oreal Mascara
- Urban Decay "Electric" liner on lower lashline
[Lips]
- MAC l/s in "Snob"
My awesome cake:
Post on Twicrackaddict:
Irina going Twilight crazy...she got the board game too! LOL!