
I had a reader who asked me if I can show how I apply my foundation to achieve the flawless, "airbushed" look (I will try and do a video as well so it's much easier to follow, but for now settle for some pics!).
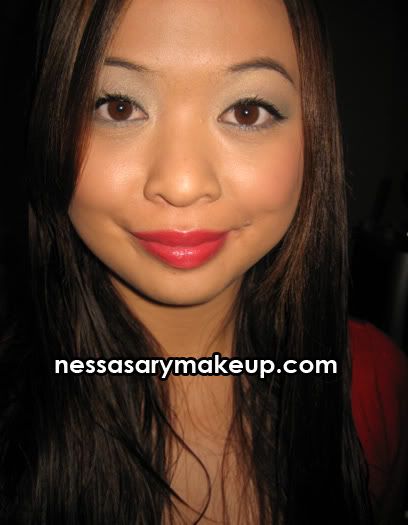
I also did a Christmas red look because even though I am not a fan of red, I DO love Christmas! It's my favorite holiday and thought i'd try playing down the eyes and bringing the lips out a bit more.
So read on to see how I did it!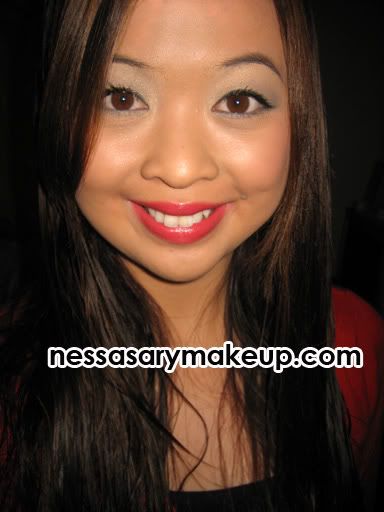
What I used:
Face:
- For contouring my nose and jawline, MAC Sculpting Powder in "Sculpt"
Eyes:
- MAC Paint Pot in Painterly
- MAC "Golden Lemon" Pigment all over the eyelid
- MAC Smokey Eyes Holiday Palette, I used "Palatial" on my outer V and contour
- MAC Pigment in "Provence", I used that wet and applied it on the first half of my lid to brighten it up a bit
- Indelible Gel Eyeliner in "Black Out"
- AVON Mascara
Cheeks:
- Everyday Minerals "Email Me" Blush, applied it using my MAC 136 brush
- MAC Gold Spill for Highlight
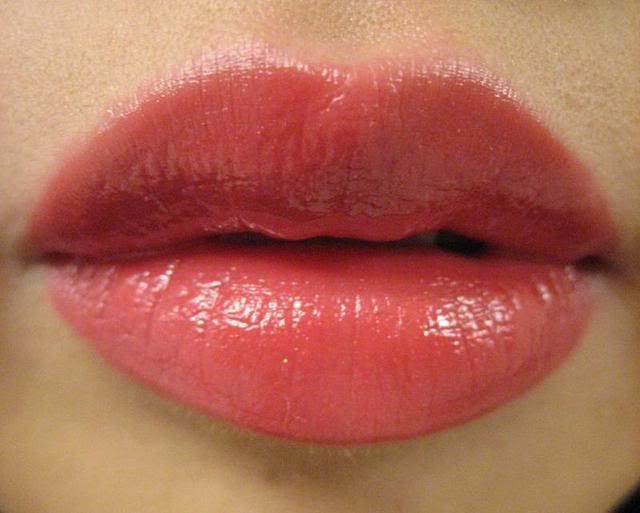
Lips:
- LA Girl Lip Palette in Delicious (used the red color)
- NYC Lipstick in red
- Sparkly Clear Lipgloss
From start to finish:
I just got outta the shower but wanted to try the red gloss to see how it looks...this is no foundation or anything yet, just the gloss.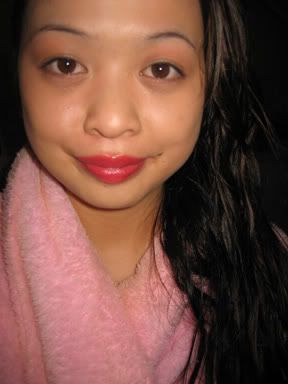
I love the Physician's Formula Concealer Duo, it has a yellow base to cover up dark circles and a natural skin color base to cover the yellow giving a more bright, awakened look. I apply it all around my eye area including all over the eyelid.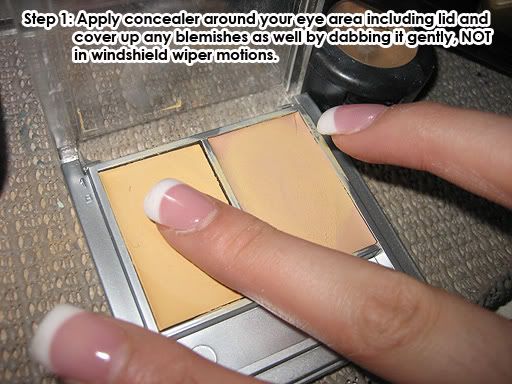
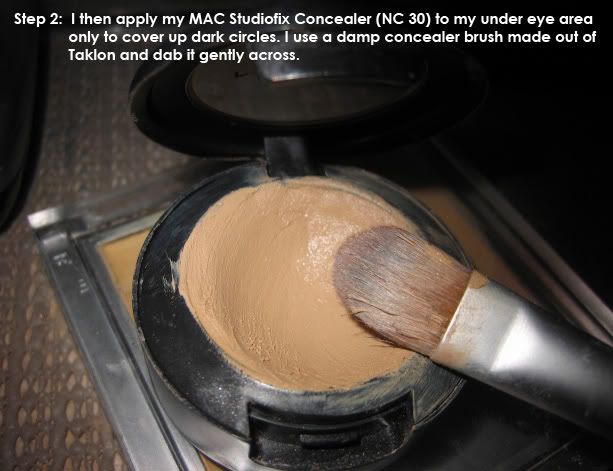
An old pic, but it's how to apply concealer with your taklon brush, dab it gently across...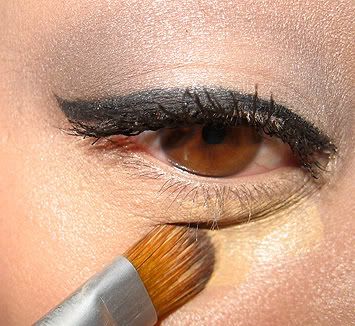
See the difference?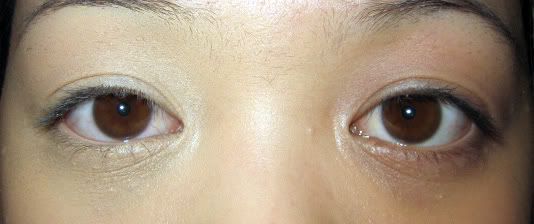
Now applying my foundation!!!!!
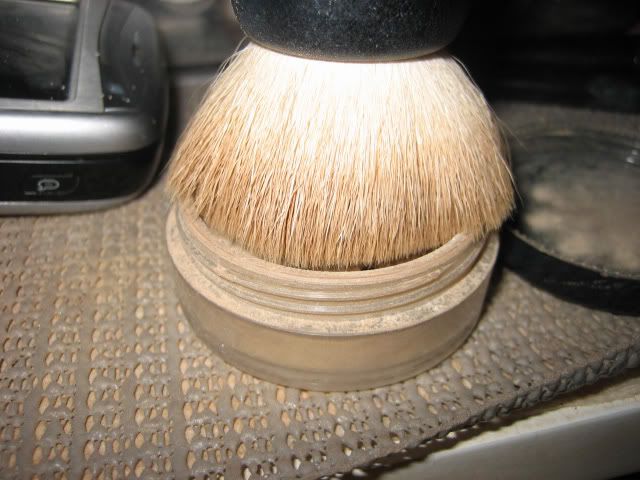
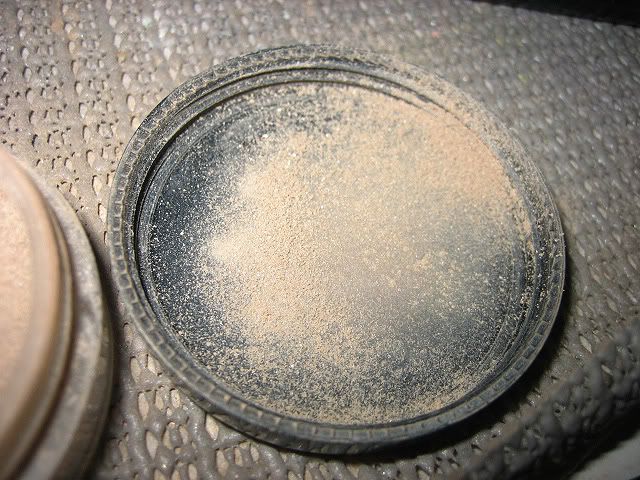
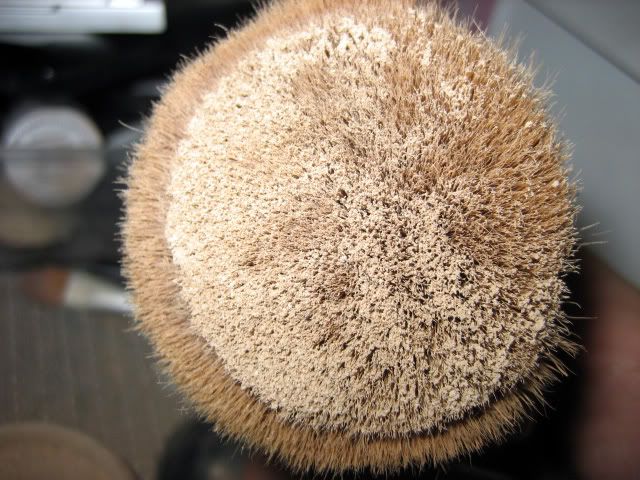
I take my MAC 180 brush and dab it lightly on top of the sifter to grab a little foundation, if I accidentally grab too much I just tap it on top of the cover to get rid of the excess foundation. You can also tap all of the foundation onto the cover and then swirl it with your brush so that the foundation evenly goes on your brush. This also ensures no blotchy marks or area during application. Also be sure to let your primer or moisturizer to FULLY dry before you apply your foundation or else you will get dark patches in certain spots.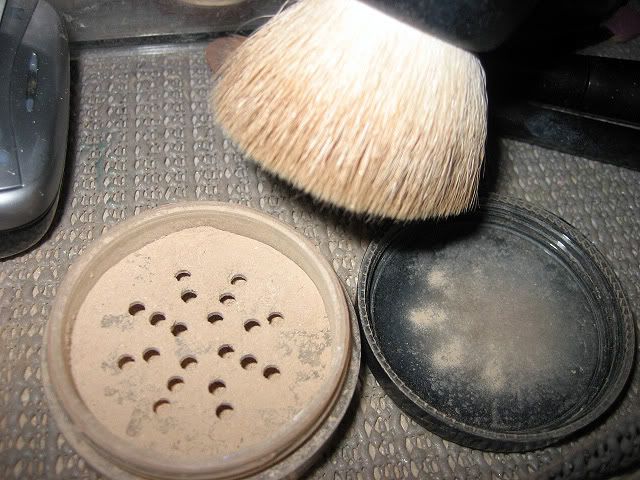
Then just BUFF in a CIRCULAR MOTION all over your face, do the nose and chin last as those areas don't need too much foundation.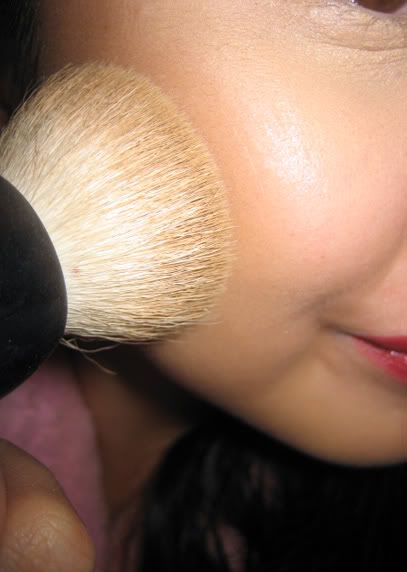
TADA!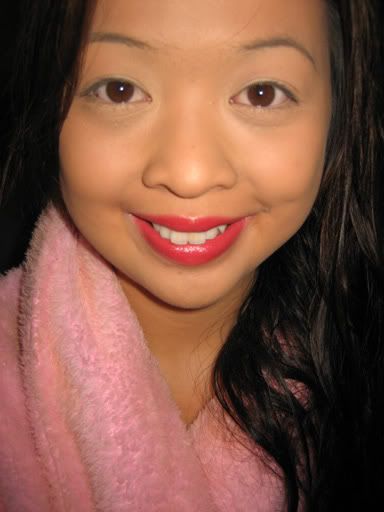
And now for the FOTD!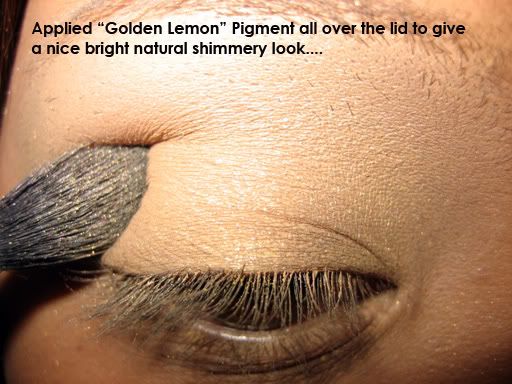
I applied "Palatial" from the holiday smokey eyes palette in windshield wiper motions from the outer V and contour.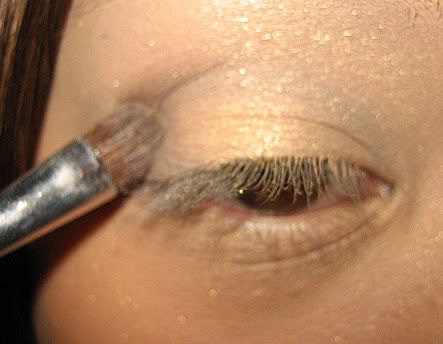
I then applied a little "Provence" Pigment wet onto my lid to brighten up the look.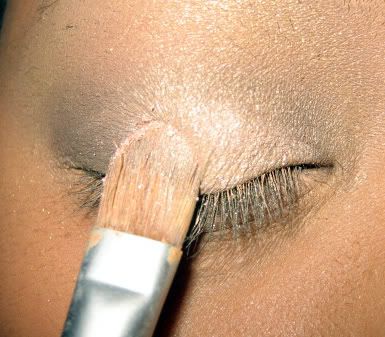
A natural look for everyday wear!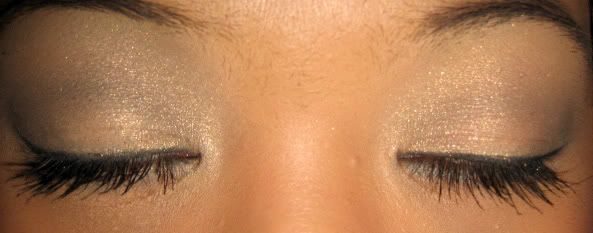
Saturday, November 10, 2007
FOTD: Christmas Red + How I apply my foundation
.
Subscribe to:
Post Comments (Atom)


14 comments
Hey, just wondering if you were still offering those mac samples. I don't have any mac makeup yet and I wanted to test out a few pigments. I'm interested in 6, everything but pink mauve. It's $13.50, right? Please let me know. soulsponge@yahoo.com
ate, your lips look so luscious with the lippie you put on! :D
your pictures are so clear, you do amazing tuts :)
Lovely tutorial! I haven't been using powder foundation recently because I can get the airbrushed look with liquid/cream foundation with just a touch of loose powder on top, but this is really good! Something to consider when I next buy foundation again. Thanks! :)
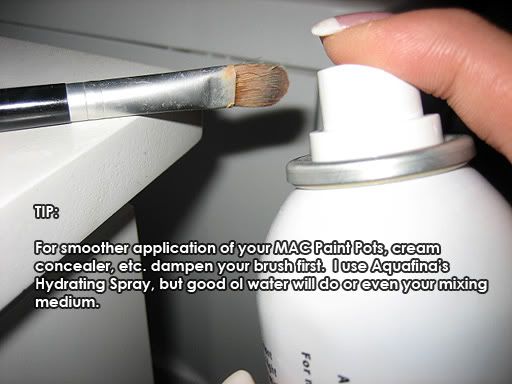
wow, i never knew the secret about spraying your brush with water and applying concealer to make it smoother. :] i have to try that out now. :] great tut nessa. :]
Your lips look sooo lush! Very pretty. And great tip on applying more emollient products with a damp brush. I did notice that when I tried to pick up some of the paint, that it didn't scape well onto the brush. I'll definitely have to try it with a damp brush. Thanks dear!
I agree with Stephie! This is a great tut. I know it's a silly question but what exactly is Sculpting Powder for? I know it's a pro product but what exactly is it used for?
Hmmmm....oh and I thought I was the only one who loves those NYC lippies. I purchased 2 today! Peace and keep up the fab job!
the photos you take are awesome! they're so clear :)
thanks for sharingg!
love love,
I love your blog keep up the tutorials :)
Thanks gals! (Sushii and Elizabeth), divine, the sculpting powders are great for contouring the face or certain features (nose and jawline) giving you a more defined look.
Thanks so much for the MMU application tutorial! I'd love to see a video when you get a chance.
you skin looks great without makeup. what is your skincare regime?
Hey girlie....
I love the holiday look. I was trying to think of how I am gonna do my makeup for this upcoming holiday party for work [[i have no clue]]]. Im not big on lots of lip color I usually go with lots of sheer colors [i.e mac's lipglass]. I want to try something new for this party BUT im scared! lol. Got any suggestions?
Thanks for the tips on packing your makeup for a vacay. I wouldn't want my eyeshadows to crack. Looked like you had fun on your trip. I want go to NY someday...till then I'm stuck in Hawaii.
Even w/o makeup on, you look like you have eyeliner and mascara on. You gorgeous creature, you.
LOVE the lip color!
Post a Comment
Thanks for stopping by my blog!