
Every now and then I get messages from people who comment on my use of bold colors, and many of you are scared to try looks with COLOR, most of you haven't taken that plunge of going "outside the box", except Bionic Beauty who took her first steps into color and got some purple eyeshadows! But it's fun and it's amazing what you can do. So I know a lot of you think that all my looks are always dramatic and involve colors or bright colors, but truth is, I love sporting the natural look on what I like to call "lazy days", where you still wanna look hot but without all the effort!
The only reason I show a wide range of looks here is so that you gals can just see all the different color combinations you can do, all the different looks, and really just breaking that box of always being either neutral or black. If I did tutorials on just browns and taupes, etc, I think it would be rather boring don't you think?!
So for the gals that are still scared to try color, I have done another natural look tutorial for you! Enjoy!
What I used: (sorry I don't have a picture of all the items)
EYES
- Revlon's "White Whisper"
- MAC Paint Pot in "Painterly"
- MAC Eyeshadow in "Tectonic"
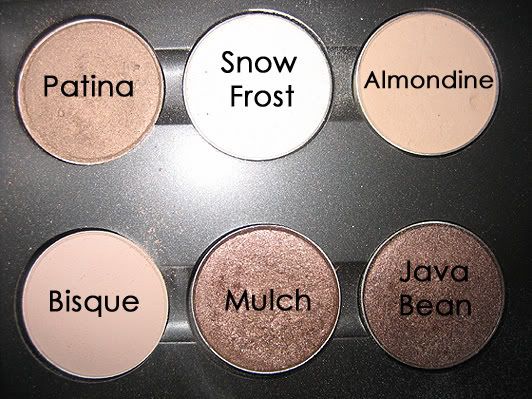
- MAC Palette Neutrals and Browns (Patina, Bisque, Mulch)
- Milani Eyeshadow in "Snow Frost" and "Java Bean"
- ULTA eyeshadow in "Lustre" as the highlight
- Indelible Gel Eyeliner in Black Out
- L'Oreal Telescopic Mascara
- MAC Studio Fix Concealer in NC30
FACE:
- Everyday Minerals Sandy Glo mixed with KT Naturals Medium Warm Beige
- Luminous Blush
LIPS:
- MAC Lipstick "Sparks can fly"
- Sephora Lip Liner #206
- MAC 3D Lipglass in "Lightswitch"
Step 1: I applied MAC Paint Pot in Painterly as my eyelid base, then applied Revlon's White Whisper Eyeshadow all over the entire lid, and topped it off with MAC's Tectonic just above the crease.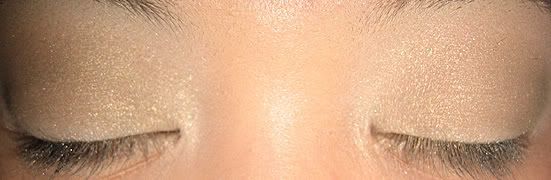
MAC's "Tectonic"
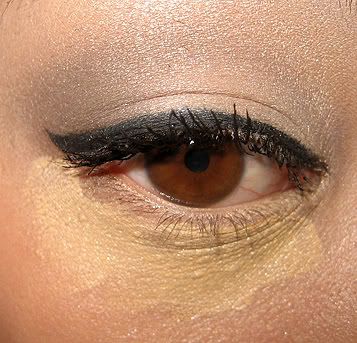
Step 2: Then using a small eyeshadow brush or an angled brush, take a dark brown or medium brown eyeshafow, I used a mixture of PATINA, MULCH and JAVA BEAN and applied it to the outer V, to almost the middle of my lid then outlined the top (like a ranbow) to the inner corner of my eyelid.

It's a bit faint in the photos, but if you look closely you can see the outline of the taupe color...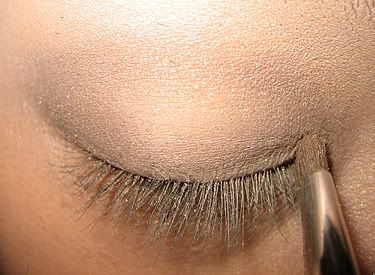
To give you this:
Step 3: Highlight the brow bone with a light color, it can be matte or shimmery whichever you prefer, I chose Lustre because it's super pretty!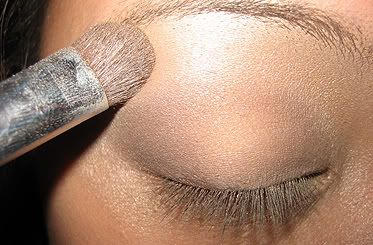
Almost done...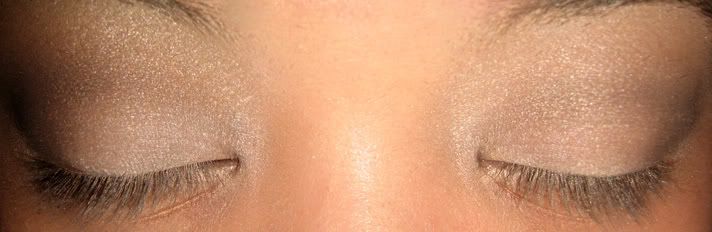
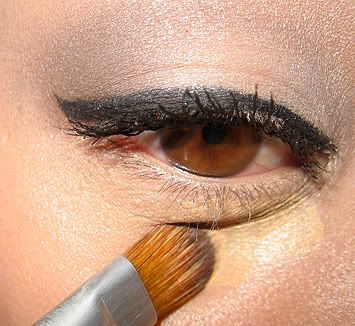
Step 4: I then lined my eyes, DO NOT line the bottom, if you like you can put a neutral eyeshadow on your lower lash line, but adding eyeliner at the bottom makes this look dramatic. And now it's time for the concealer; use an eye cream or a moisturizer before applying concealer so that the concealer has something to "hold onto" then using a concealer brush, apply your concealer in dot and dab form under your eyes, be sure to dab only as brushing it will take away the color, and just dab till the entire area is concealed. Then apply a powder on top of that for it to 'set'. (not shown)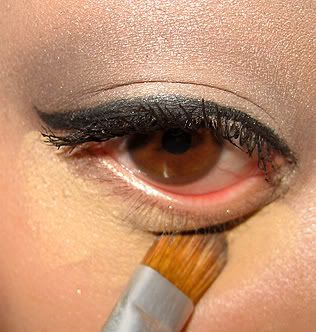
Step 5: Apply your foundation and blush.
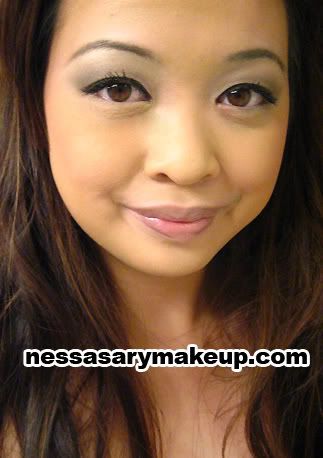
Ta-da!
Lips with "Sparks can Fly"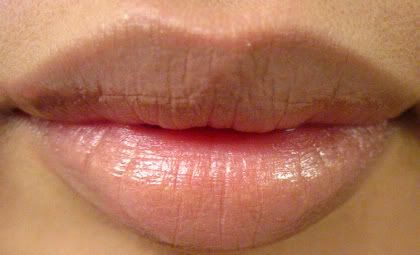
Thursday, September 13, 2007
Natural Look #2
.
Subscribe to:
Post Comments (Atom)


1 comment
Kewl :)
Post a Comment
Thanks for stopping by my blog!