*EDIT from previous blog(s). Marie-The Longs Drugstore I went to was in Azusa, but I believe if you go to their website, www.nyxcosmetics.com, they have a store locator that will tell you which store around Northridge or Granada Hills carries NYX. I believe the Longs Drugs on Zelzah and Chatsworth in Granada Hills MIGHT have it, but call before you go to be sure. Let me know if you are still unable to find it, and I'll do my research and find some places that sell NYX.
And sorry I forgot to mention where I got the overnight bag, in the midst of my excitement I forgot to mention that important detail! Sorry gals! :)
I bought the overnight bag from http://www.bagsbuy.com for $34.45, they have FREE SHIPPING, NO TAX, and FREE RETURNS. So basically the price you see, is the price you pay. No calculation needed! For the overnight bag I got, CLICK HERE. It comes in black, fushia, and periwinkle. Luggage.com has a better description as well as additional images you can see: CLICK HERE.
I will post my review once I get it, and of course pictures!
***ALSO*** For those who have emailed me for tips, etc., PLEASE include your name AND/OR email or MySpace page for a personal reply back. Some of you write under "anonymous" so it's hard for me to get back to you other than on here...for the gal who wanted to know how to put on eyeliner, stay tuned! I will post that up soon! :)
______________________________________________________________________________
I received my stacks today (to put in loose powder or pretty much whatever you want):
They were bigger than I thought, but nonetheless, they hold a lot...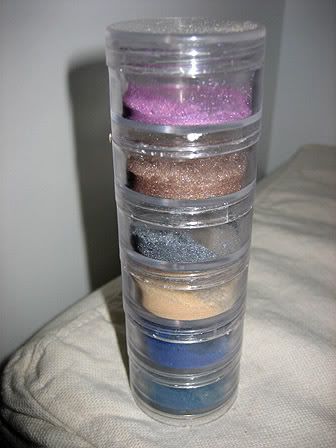
As you can see comparitively to the size of my hand: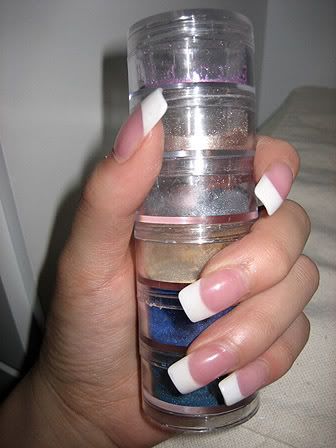
Close-up:
I also got some mascara and lipgloss wands so that I can start doing make-up on people, gotta be sanitary! (im nervous!):
I got my Mineral Powder Flat Top Brush from Lumiere which I LOVE!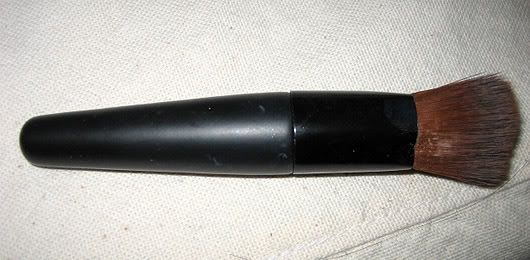
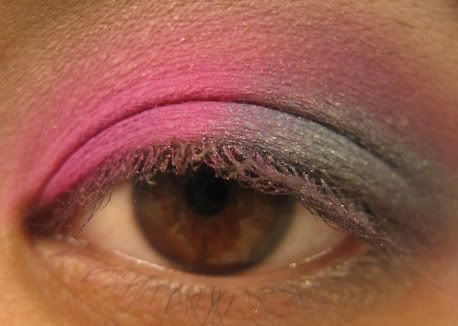
Here is what I call "gradient eyes", this is usually how I wear my makeup everyday (using more of a taupe color instead of black which I used here). This is one of my favorite looks that I sorta invented for myself just messing around with makeup. I basically highlighted the whole lid, added more of the light color all over, and just shaded in the outside corners and outlined the top, the key is BLENDING, that's the only way this look can be done is by blending! Harsh lines will ruin this look, so remember to always BLEND!
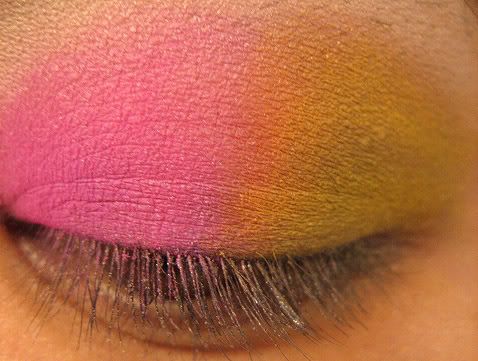
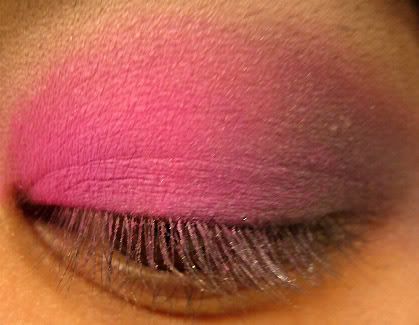
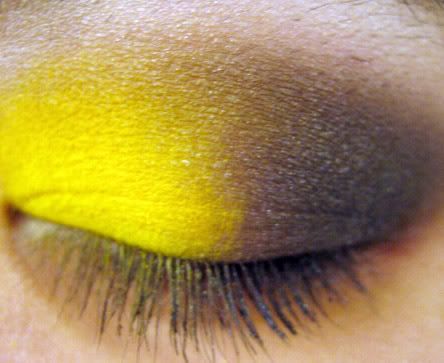
I played with more looks recently, I am really digging the "rainbow look", obviously not for going out in public because it's a bit TOO bright in real-life...but it's a nice fantasy look for a photoshoot. These photos are un-finished, meaning it's just eyeshadows that were used, no eyeliner, no mascara, just to see how they would look...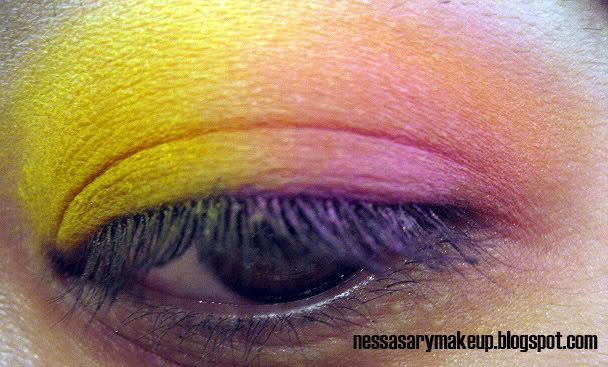
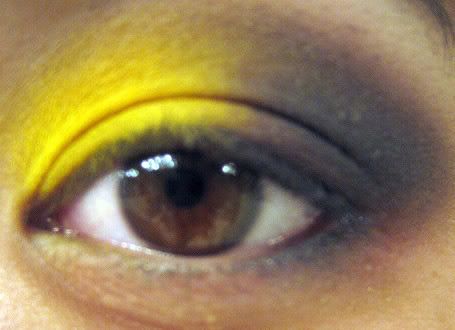
I WILL TRY AND GET SOME VIDEO TUTORIALS FOR YOU GALS, SO IT'S EASIER TO LEARN! STAY TUNED! :)
Recent Posts
Popular Posts
Upcoming Posts
- Concealer & Foundation Tutorials
- Sigma MaxBag Makeup Bag
- My HG Concealers
- Mixing Foundations
- What's in my makeup box
Saturday, July 7, 2007
Rainbow eyes and Stacks
Subscribe to:
Post Comments (Atom)


0 comments
Post a Comment
Thanks for stopping by my blog!